
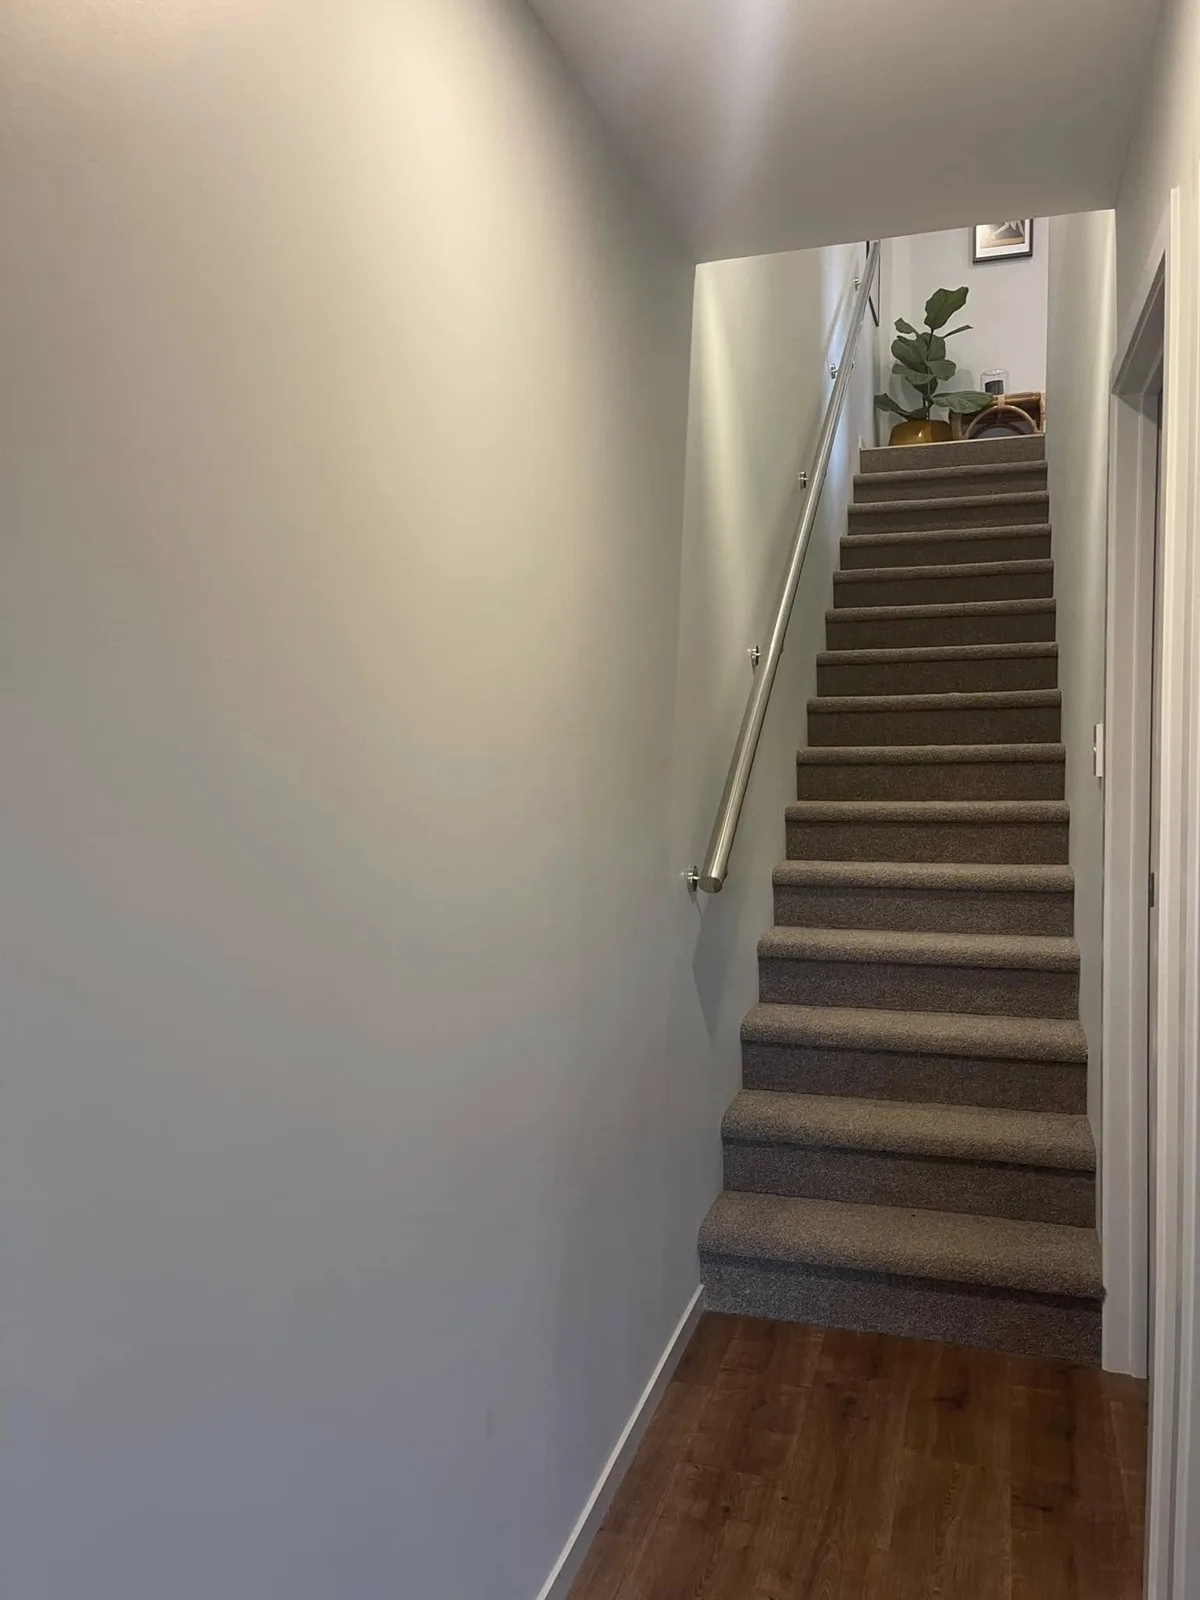
Agree responsibilities before moving anything
To prepare your home for interior painters, first confirm which rooms and surfaces are included, who moves furniture and how the space will be protected. Then clear personal items, settle your colour choices and agree daily access. A few practical decisions before the crew arrives can make the job feel much more organised.
You do not need to prepare every surface yourself. In fact, doing unplanned filling, sanding or cleaning can create extra work if it conflicts with the painter’s approach. Start with a short conversation about responsibilities. Keep the agreed plan with your quote so everyone is working from the same expectations.
1. Create a simple room-by-room plan
Walk through the house and list the rooms being painted. For each room, confirm whether the scope includes ceilings, walls, skirting, doors and frames. Note built-in shelves or wardrobes separately. Point out areas that need discussion, such as an old stain, damaged trim or a patch left after electrical work.
Next, ask about the order of work. If you are staying in the house, you may need one bedroom or a bathroom available throughout the project. Discuss that early. A room sequence helps you decide where to store belongings and reduces the temptation to shift everything repeatedly as the work progresses.
2. Clear personal items and protect what matters
Remove small objects, books, ornaments and fragile items from the work areas. Pack them in labelled boxes so putting the room back together is straightforward. Keep jewellery, documents, medication and other essentials somewhere secure and accessible. Take down wall art and tell the painter which hooks should stay and which holes should be filled.
Ask who will move heavy furniture and whether it can remain in the room. Do not assume the crew will dismantle a bed, move a piano or disconnect appliances. Large or valuable items may need a separate arrangement. The aim is a clear working area with enough space for safe access and appropriate protection.
3. Discuss curtains, fittings and wall-mounted items
Curtains, blinds and their brackets can affect access to the edges of a wall. Agree which items need to come down, who removes them and who reinstalls them. Keep fittings labelled by room. A bag of unidentified screws at the end of the project is an avoidable source of frustration.
Flag anything attached to the wall that needs special handling, including televisions, shelving and alarm equipment. Do not disconnect electrical fittings yourself as part of general painting preparation. Ask whether a suitable tradesperson is needed. If you are changing fittings, coordinate those changes with the painting sequence so finished surfaces are not unnecessarily disturbed.
4. Finalise colours and finishes in the room
Confirm colours before the scheduled start, including the choices for ceilings, walls and trim. View samples in the actual room at different times of day and under the lighting you normally use. Consider nearby floors, cabinetry and upholstery. A small screen image or paint chip is a starting point, not a complete picture of the finished space.
Discuss sheen as well as colour. The best product depends on the room, cleaning needs, substrate and desired appearance. Ask your painter to explain the trade-offs in plain language. Record the selected brand, product, colour and finish so there is no ambiguity when materials are ordered or touch-ups are needed later.
5. Plan for everyday life during the job
Tell the team who will be home, when access is available and whether anyone works or studies in the property. Discuss the areas you need to use each day. Painting is easier to manage when meals, sleep and essential routines are considered in the room sequence rather than improvised after work begins.
Keep children and pets away from active work areas and stored materials. Agree how doors and gates will be managed and where equipment can be left. Follow the product guidance and contractor’s advice on ventilation and re-entry. If someone has particular sensitivities, raise them before product selection so the project can be planned appropriately.
6. Point out problems without trying to hide them
Show the painter stains, recurring cracks, peeling paint and areas that have been damp. Explain what you know about previous repairs. A stain may need a different treatment from an ordinary colour change, and an ongoing leak needs investigation before a cosmetic finish. Better information helps the team choose the right next step.
Avoid last-minute surface work unless it has been agreed. The painter needs to assess the existing finish and specify suitable preparation. For older homes, ask about the need to assess potentially hazardous materials before anything is disturbed. Your contribution is to make the history and visible issues clear, not to solve every underlying problem yourself.
7. Make the final walkthrough useful
Arrange a walkthrough once the agreed work is ready for inspection. Review the scope together and note any touch-ups clearly. Ask when furniture can return to its usual position and when painted surfaces can be cleaned. Dry to the touch and ready for normal cleaning are not necessarily the same stage.
Keep labelled leftover paint if it is provided, along with the product and colour details. Ask for maintenance guidance relevant to the actual coating. A short written record is more useful than trying to remember every instruction while the crew packs up. It also helps you avoid damaging a fresh finish through premature cleaning.
Your next step
A prepared home gives the painter room to work and gives you a clearer routine during the project. Start with the scope, clear belongings and agree the practical details. Read about Ideal Painting’s interior painting service and compare the written quote checklist, then contact the team to discuss your rooms, preferred timing and access needs.
Plan your painting project
Exterior painting · Interior painting · Compare painting quotes
Talk to Ideal Painting →